Hi All
I've just finished adding a 3 position switch to our 2017 Lunar Clubman ES. The bathroom ceiling light has a nightlight facility but Lunar didn't add extra switches to use this facility. The main pull switch turned off ALL the lights in the bathroom. Originally, the water pump used to turn off the lights when operated but this hasn't happened after they got replaced under warranty. The replacement lights have a different switch fitted to the centre of them.
I used a 3 position switch so that I could turn off the vanity lights or turn on the Lunar night light that I fitted to the base of the wardrobe.


I hope this is of use someone as it drove me mad and am glad that I've managed to sort it. We spend a lot off grid and so wanted to be more in control of our 12v usage.
I've just finished adding a 3 position switch to our 2017 Lunar Clubman ES. The bathroom ceiling light has a nightlight facility but Lunar didn't add extra switches to use this facility. The main pull switch turned off ALL the lights in the bathroom. Originally, the water pump used to turn off the lights when operated but this hasn't happened after they got replaced under warranty. The replacement lights have a different switch fitted to the centre of them.
I used a 3 position switch so that I could turn off the vanity lights or turn on the Lunar night light that I fitted to the base of the wardrobe.
- To get at the wires, make sure the main light switch is off.
- Remove the ceiling light by prising out the white portion of the light using a new stanley knife blade. This then reveals four screws, the ones that you need to remove are the 2 larger ones. The light can then be lowered revealing the wiring.
- There will be 2 pink and blue wires joined together. These need to be separated, one goes the the light switch and the other goes to the vanity light.
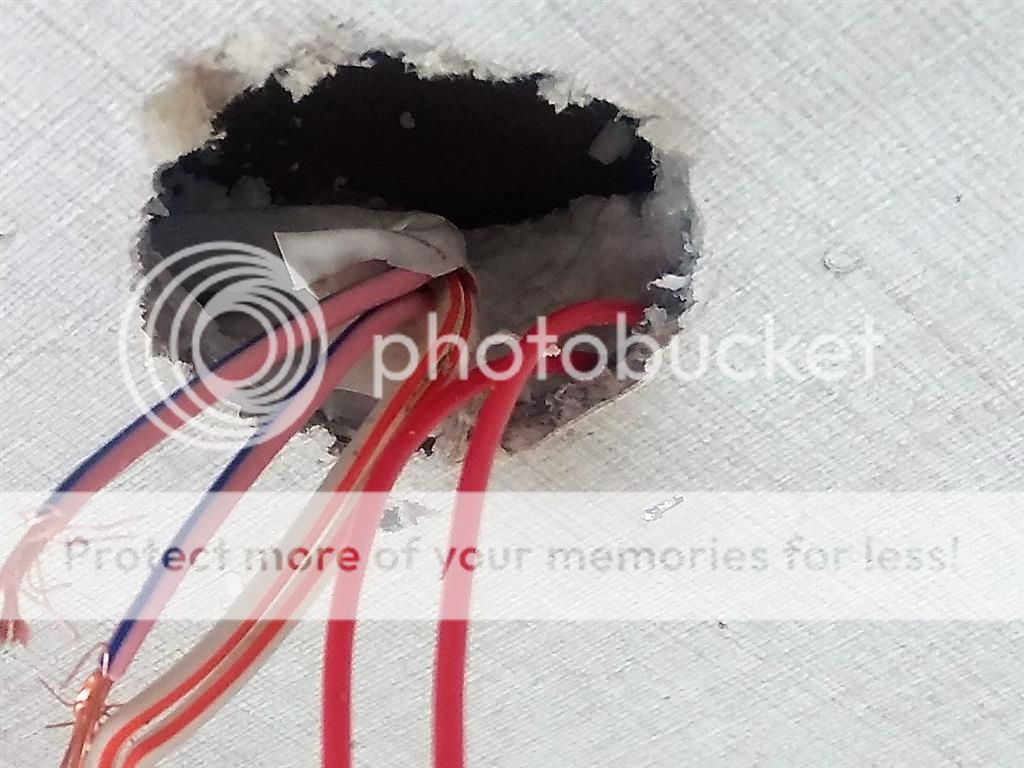
- I then ran a wiring rod between the ceiling board and the polystyrene foam in the direction of the wardrobe.
Drilling a 20mm hole in the ceiling inside the wardrobe. I just drilled enough to get through the ceiling board and no further. I removed the foam with a small scredriver giving access to the rod. I then ran a loop of thinwall wire back to the ceiling light by pulling gently on the rod. - The red wire then needs to cut and crimped onto the separated pink and blue wires. The other end of the red wire can be fitted to a normal switch or a 3 position switch if the extra night light is needed.
- The earth for the extra night light was attached to the earth in the cupboard overhead light.
I hope this is of use someone as it drove me mad and am glad that I've managed to sort it. We spend a lot off grid and so wanted to be more in control of our 12v usage.