Hi guys, im not sure if this has been written up before but I’m sure it’s been done a few times as it’s such a good upgrade. So I wanted to change my caravan lights to LED mainly to extend my battery life as much as possible but the better light quality and reliability are a bonus.
So for the LUMO type fittings my options were to fit new led fittings, fit led conversion tubes to my fittings or to convert the fittings myself, now being a bit cheap and wanting to keep the look the same I decided to convert the fittings myself.
The LED’s I decided to use were these “12V 5 SMD 5050 LED Module Light Hard Strip Bar Light Lamp Waterproof 5 Color”
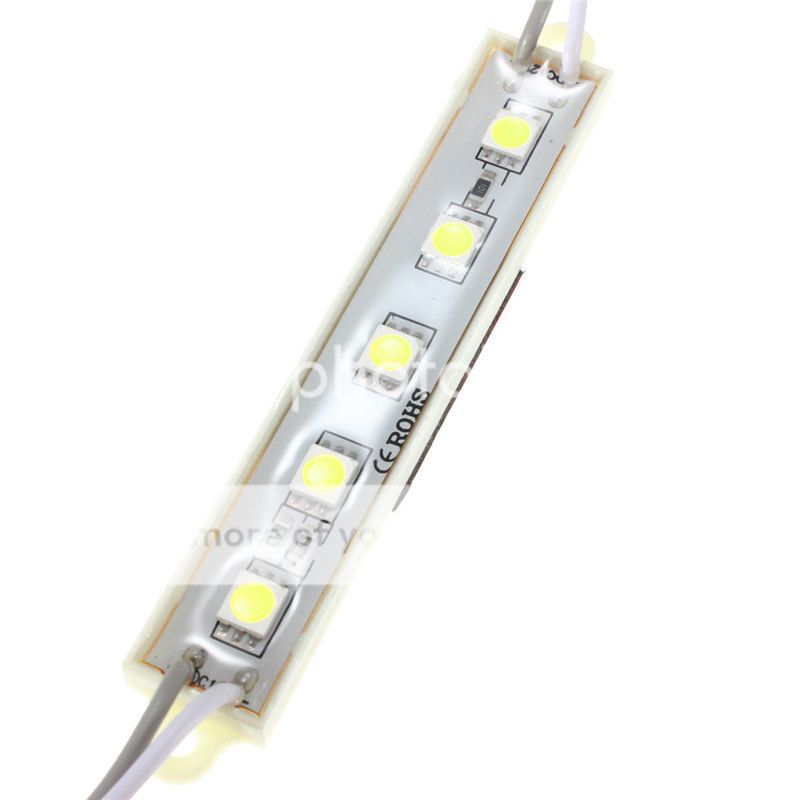

I ordered 20 of them on ebay for £3.97 from China and they arrived in about three weeks, they are quite handily already wired together so I tested them by connecting them directly to my 12v supply and they are extremely bright when 20 are shining in your face.
I wanted my LED lights to be about the same brightness as the original lights but this is a hard thing to achieve. If we are measuring in lumens then a LED light with the same lumens will appear much brighter due to the better light quality, so for DIY purpose there is little point in measuring the light output with a light meter so I just guessed that six modules would give about the right amount of light.
Remove the fitting from the ceiling, disconnected the cables and removed the cover.
Remove and disconnected the two 8W fluorescent tubes then stick the six led modules in their place using the sticky foam pads on the back.

Solder the positive cable of the led modules to the circuit board as shown in this picture (the grey wire)

This will give you the original positive cable on one side if the switch and the new led modules on the other.
The negative connection has now to be made to the led module not the circuit board so I extended the cable by a few inches
Now just replace the cover, reconnect the cables and screw the fitting back in place
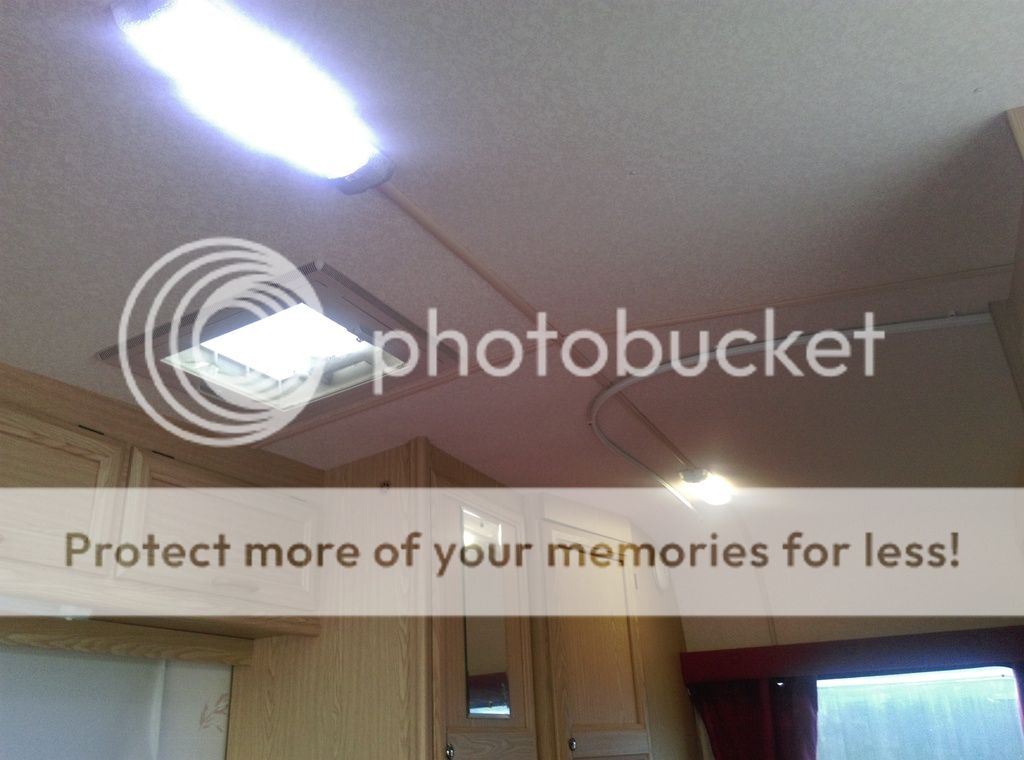
The nearest light is the LED converted fitting compared to the original fluorescent to the right.
I haven’t yet found LED lamps which will fit in the little spotlights but the toilet/shower room and awning lights will take any white LED replacement car lamps .