- Nov 12, 2009
- 11,904
- 2,400
- 40,935
I've had a couple of requests for instructions on how I fixed my 80watt solar panel to the roof of our caravan and hard wired it into the charging circuit of our Abbey Vogue 620 but it's been removed from the forum over time so I'll re-post it here.
After choosing a solar panel, the correct automotive cable, a cable entry housing gland and a solar voltage regulator ( sometimes called a solar controller) it's time to decide where the panel will be mounted. A hole has to be cut into the roof of the caravan so ensure that there are no lighting cables in between the inner roof surface and the outer, it's best to try to enter the solar cable where there is a chance of concealing it.
When the hole has been cut it's time to prepare the roof surface to mount and bond the solar panel.

Use masking tape as a guide and remove the shine from the bonding surface using fine emery cloth.

Use white spirit to thoroughly clean the bonding area and follow with a cloth dipped in methylated spirit to remove any oily residue.

Add a double bead of Sikaflex 512 to each side of the mounting frame or bracket using a mastic gun, apply liberally.
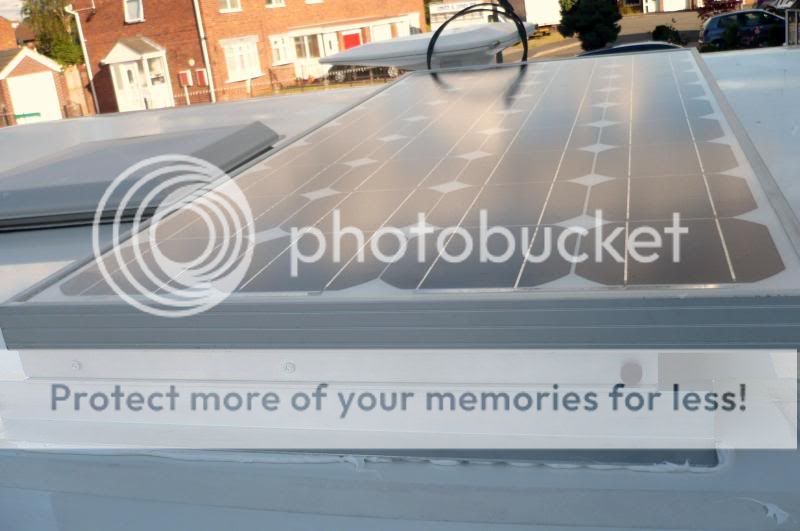
Press the frame down onto the pre-marked clean bonding area of the roof, gently lift slightly and press down again in order to spread the Sikaflex bond, The excess Sikaflex will squeeze from the sides of the joint, this can easily be cleaned and smoothed using a plastic scraper and the white spirit.

Feed the exterior cable through the cable entry housing gland and use a rubber cable grommet with a slit cut into it for a completely watertight seal for the cable entry hole. There'll be lots of Sikaflex remaining so use some to seal the cable entry hole and around the rubber grommet, this can be a bit messy but it's worth doing.

Seal the entry gland cable entry holes after tightening them and run a bead around the edge of the cable housing gland to mount it to the roof.
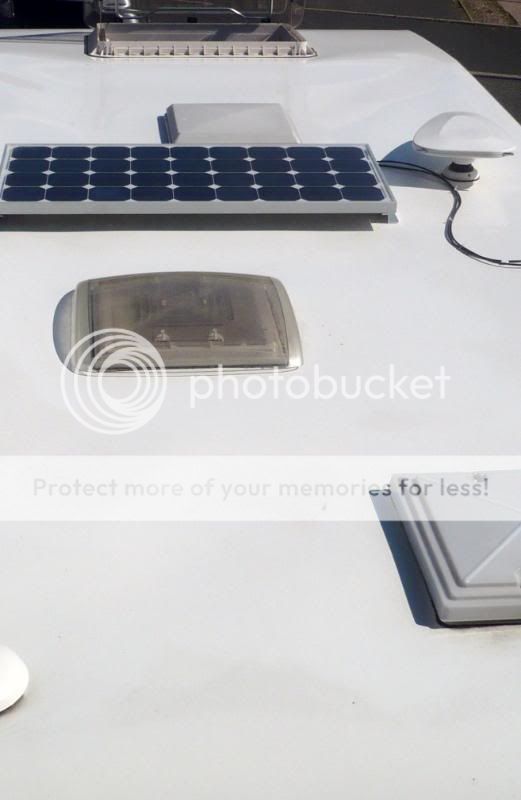
When you have finished on the roof leave the panel bond to set, I gave mine 48 hours in warm weather but refer to the Sikaflex instructions.
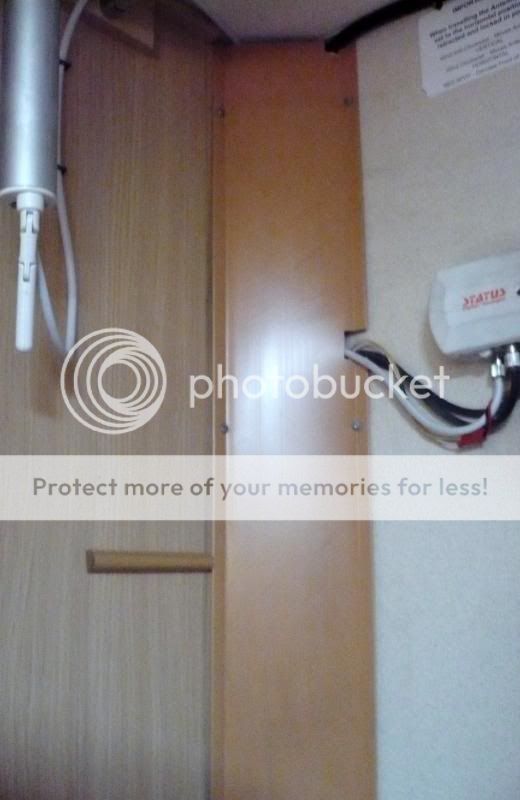
The solar cable enters via the wardrobe roof (top of picture) and is joined to automotive cable via a 20a cable connector and a 20Amp fuse, this is hidden behind the cable conceal panel in the wardrobe. I used a short length of cable trunking to reach the entry point for the false bottom of the overhead kitchen lockers.

Try to route the solar input cable so that it's hidden from view, on our Abbey the overhead lockers have false bottoms which hold the 12v lighting cable and that for the 230v sockets. The solar feed fitted in nicely
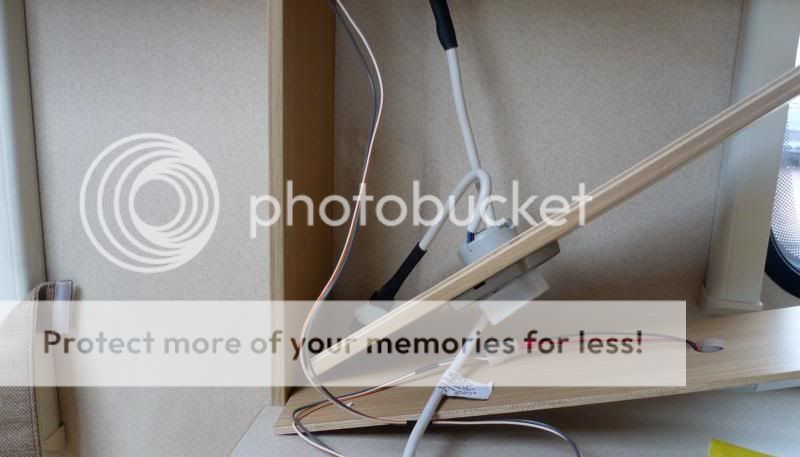
From the overhead lockers the cable went behind the kitchen 230v socket mount board and behind the fridge.

Rather than fiddle about behind the fridge I drilled through to the cabinet, fished the solar cable through and used a length of matching brown cable conduit left from inside the wardrobe(from B&Q) to take the solar cable down to the floor locker where the solar voltage regulator is mounted.
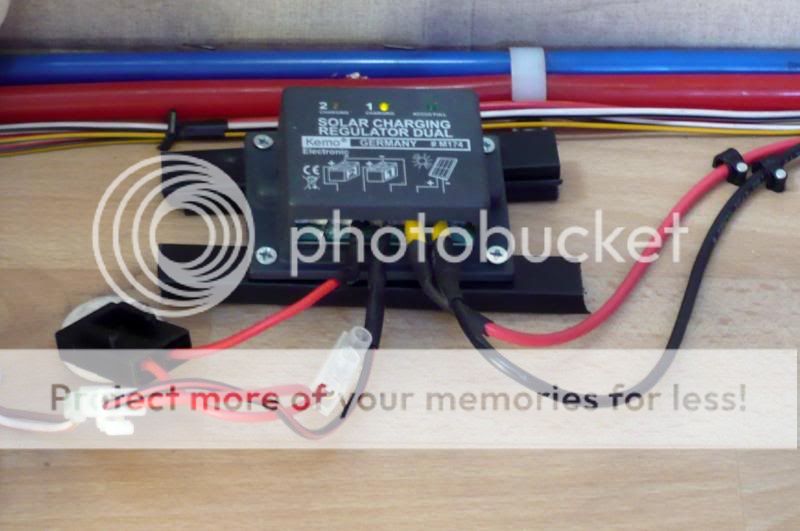
Leave an air gap between the regulator and the floor to assist cooling and use another 20a automotive fuse to connect to a Sargent solar connector which connects directly to the charging circuit if you own a Swift caravan.
After choosing a solar panel, the correct automotive cable, a cable entry housing gland and a solar voltage regulator ( sometimes called a solar controller) it's time to decide where the panel will be mounted. A hole has to be cut into the roof of the caravan so ensure that there are no lighting cables in between the inner roof surface and the outer, it's best to try to enter the solar cable where there is a chance of concealing it.
When the hole has been cut it's time to prepare the roof surface to mount and bond the solar panel.

Use masking tape as a guide and remove the shine from the bonding surface using fine emery cloth.

Use white spirit to thoroughly clean the bonding area and follow with a cloth dipped in methylated spirit to remove any oily residue.

Add a double bead of Sikaflex 512 to each side of the mounting frame or bracket using a mastic gun, apply liberally.

Press the frame down onto the pre-marked clean bonding area of the roof, gently lift slightly and press down again in order to spread the Sikaflex bond, The excess Sikaflex will squeeze from the sides of the joint, this can easily be cleaned and smoothed using a plastic scraper and the white spirit.

Feed the exterior cable through the cable entry housing gland and use a rubber cable grommet with a slit cut into it for a completely watertight seal for the cable entry hole. There'll be lots of Sikaflex remaining so use some to seal the cable entry hole and around the rubber grommet, this can be a bit messy but it's worth doing.

Seal the entry gland cable entry holes after tightening them and run a bead around the edge of the cable housing gland to mount it to the roof.

When you have finished on the roof leave the panel bond to set, I gave mine 48 hours in warm weather but refer to the Sikaflex instructions.

The solar cable enters via the wardrobe roof (top of picture) and is joined to automotive cable via a 20a cable connector and a 20Amp fuse, this is hidden behind the cable conceal panel in the wardrobe. I used a short length of cable trunking to reach the entry point for the false bottom of the overhead kitchen lockers.

Try to route the solar input cable so that it's hidden from view, on our Abbey the overhead lockers have false bottoms which hold the 12v lighting cable and that for the 230v sockets. The solar feed fitted in nicely

From the overhead lockers the cable went behind the kitchen 230v socket mount board and behind the fridge.

Rather than fiddle about behind the fridge I drilled through to the cabinet, fished the solar cable through and used a length of matching brown cable conduit left from inside the wardrobe(from B&Q) to take the solar cable down to the floor locker where the solar voltage regulator is mounted.

Leave an air gap between the regulator and the floor to assist cooling and use another 20a automotive fuse to connect to a Sargent solar connector which connects directly to the charging circuit if you own a Swift caravan.

